Are you brand new to Procreate and not sure where to start? Don’t worry—you’re not alone! Procreate is an amazing digital art app for the iPad that’s packed with features, but it’s also super intuitive once you know the basics. Whether you’re looking to sketch, paint, or design something magical, this step-by-step guide will walk you through everything you need to know to get started with confidence.
Let’s dive in!
Step 1: What you Need to Get Started
Before we jump into the app, here’s what you’ll need:
iPad(any model that supports Procreate)
Apple Pencil(highly recommended for precision and pressure sensitivity)
Procreate app(available on the App Store)
Once you have these, you’re ready to go!
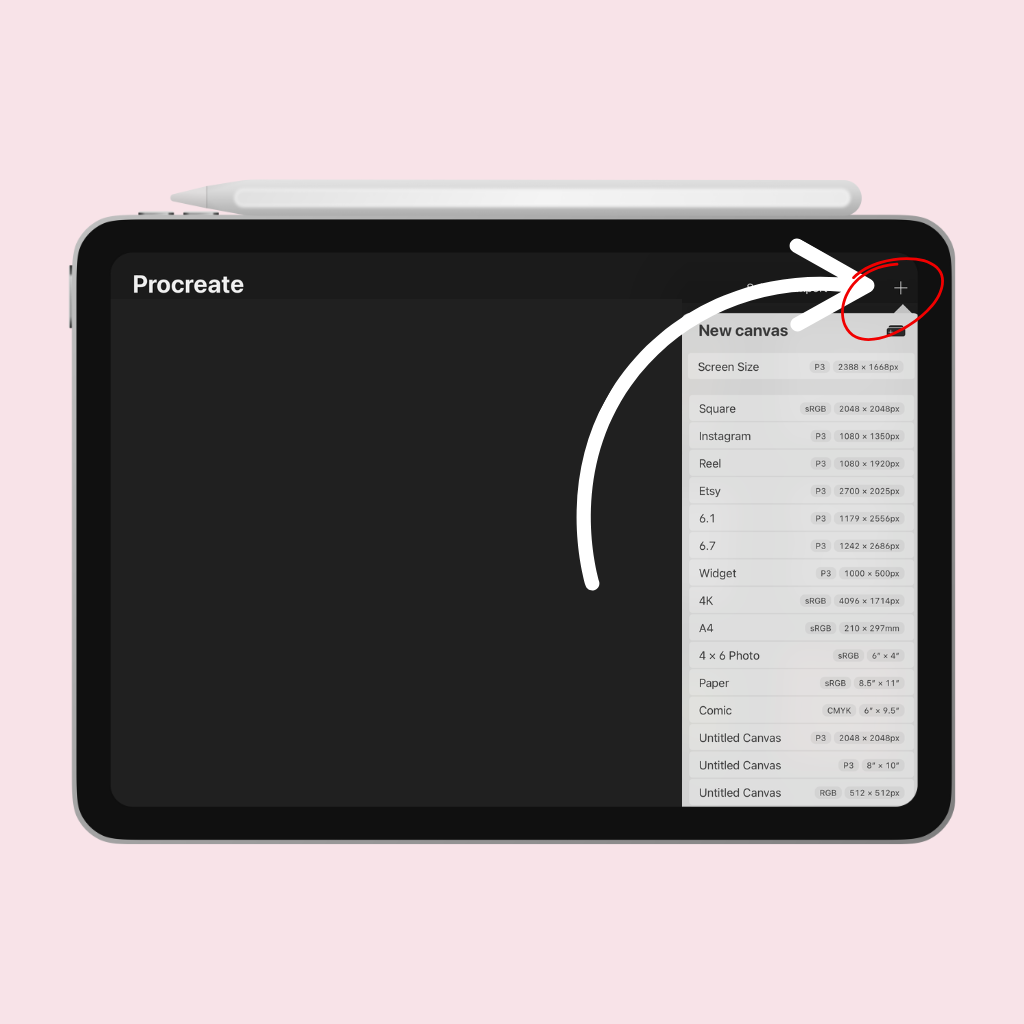
Step 2: Create a New Canvas
Open Procreate.
Tap the+icon in the top right corner.
Choose a canvas size. “Screen Size” is great for practice, or you can create a custom size for specific projects.
🎨Tip: If you’re planning to print your art, choose a resolution of 300 DPI.
Step 3: Explore the Interface
Here’s a quick rundown of the main tools:
Brush Tool (paintbrush icon)– Used for drawing and painting.
Smudge Tool (finger icon)– Blends your colors and lines.
Eraser Tool (eraser icon)– Removes part of your drawing with any brush.
Layers (two overlapping squares)– Organize your artwork so you can work non-destructively.
Color Picker (circle in the top-right corner)– Lets you choose and customize colors.
Spend a few minutes tapping around—Procreate is very user-friendly!
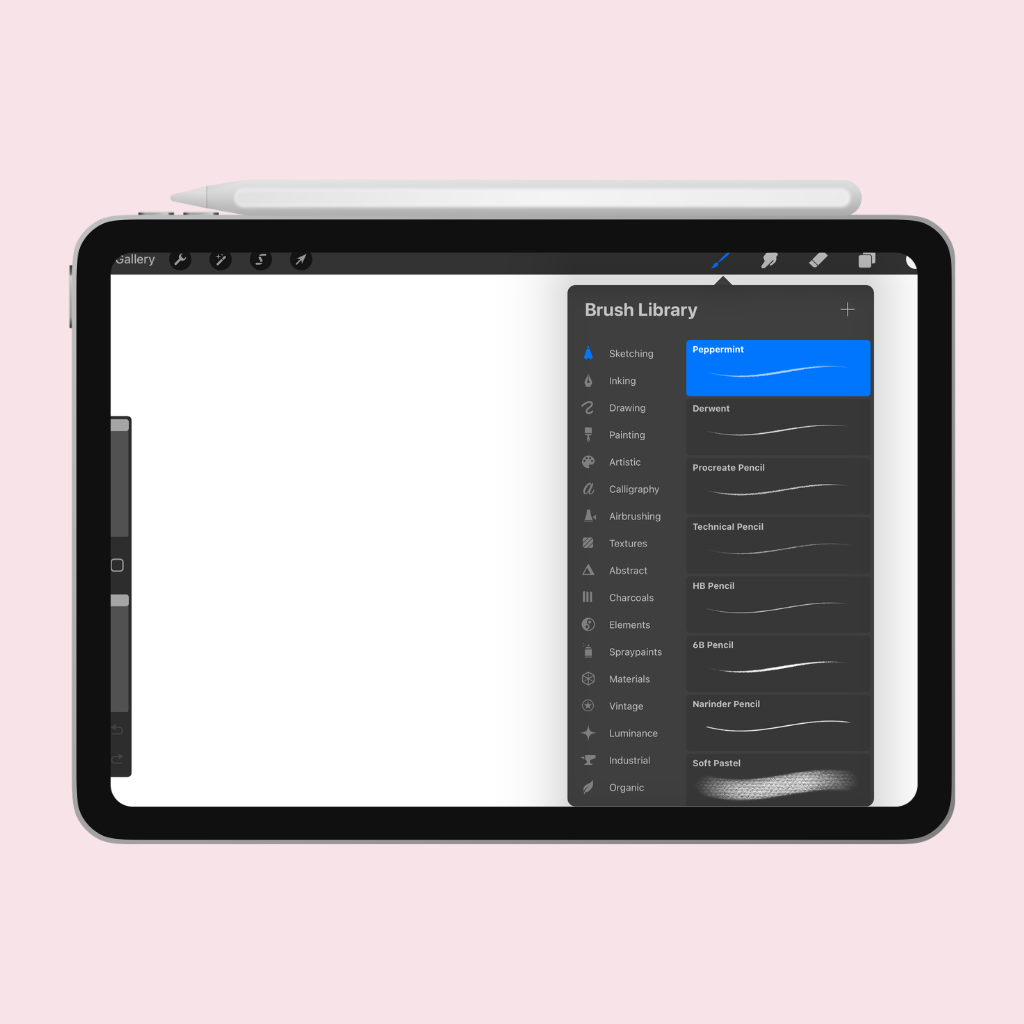
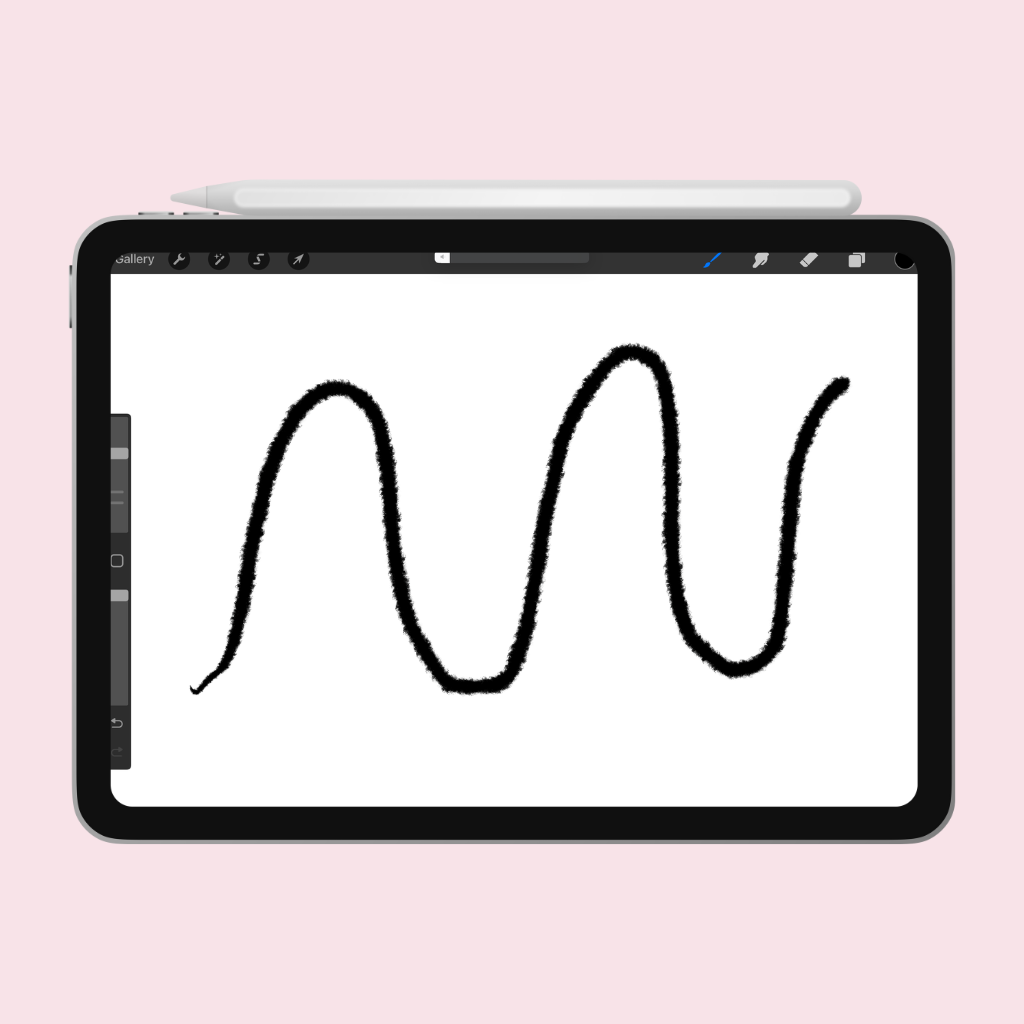
Step 4: Start Drawing
Select theBrush Tooland choose a brush from theBrush Library. Try starting with something simple like “Pencil – 6B.”
Pick a color using the color circle.
Draw on the canvas!
🖌️Pro tip: Try varying the pressure of your Apple Pencil to see how the stroke changes!
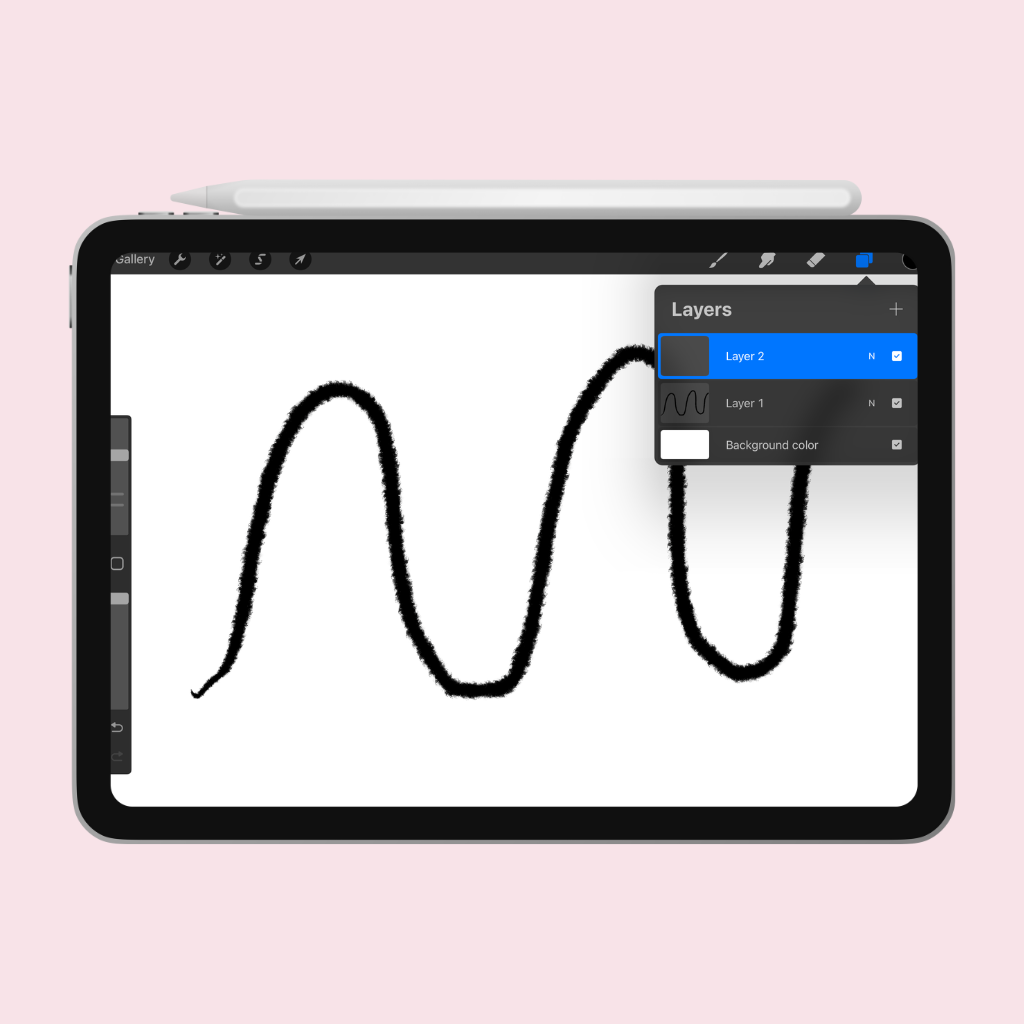
Step 5: Use Layers Like a Pro
Layers are your best friend in Procreate. They allow you to separate parts of your drawing, which makes editing so much easier.
Tap theLayers icon.
Tap the+to add a new layer.
Use one layer for your sketch, one for line art, and another for color!
Step 6: Undo, Redo, and Quick Actions
Undo: Tap with two fingers.
Redo: Tap with three fingers.
QuickMenu: Touch and hold on the screen with one finger and a radial menu will appear (you can customize this!).
These shortcuts are game-changers once you get used to them!
Step 7: Try Out Basic Tools
Lasso Tool(S-shaped ribbon): Select part of your artwork to move or transform it.
Transform Tool(arrow icon): Resize, rotate, or distort your selection.
Adjustments(magic wand icon): Apply effects like blur, hue/saturation, or color balance.
Just play around—you can’t break anything!
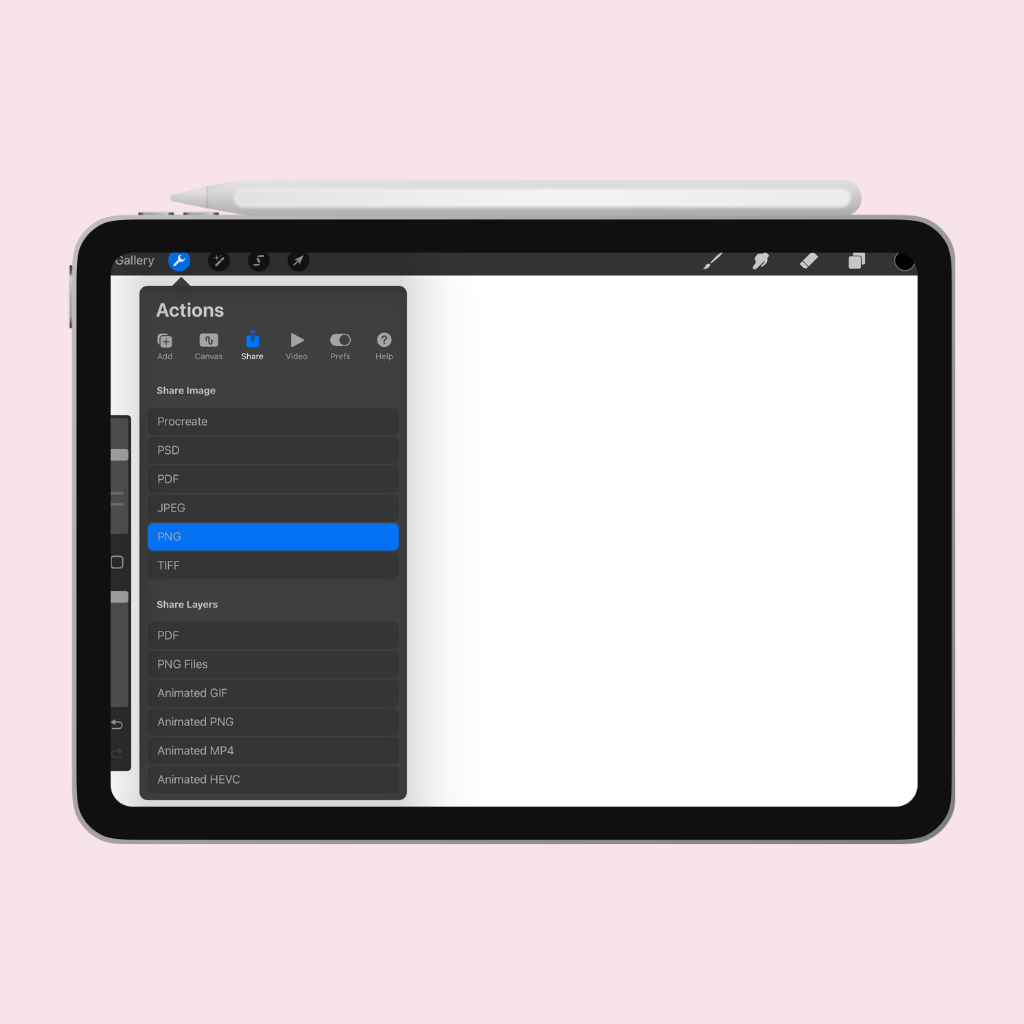
Step 8: Save or Share Your Artwork
When you’re done creating:
Tap thewrench icon(Actions menu).
TapShare.
Choose a file format (JPEG or PNG is great for images).
Save to your iPad or share directly to Instagram, your email, or your printer!
Final Thoughts
Procreate is an amazing tool, and it gets more fun the more you explore. Don’t worry about being perfect—just start drawing, experimenting, and enjoying the process. Before long, you’ll be creating art you’re proud of.
Want to go further? I’ve got beginner-friendly tutorials, custom brushes, and drawing prompts designed just for you!